I remember the first time I heard that annoying squeak while pedaling my bike. It was a beautiful day, the sun was shining, and I was cruising along my favorite trail. But that persistent noise? It was like a tiny gremlin had hitched a ride, determined to ruin my zen.
If you’re reading this, I bet you’ve had a similar experience. Bikes, as much as we love them, can sometimes be quite vocal about their issues. But don’t worry, I’ve been down this road (pun intended) and I’m here to help you decode and silence those pesky bike noises.
Why Does My Bike Noise When Pedaling
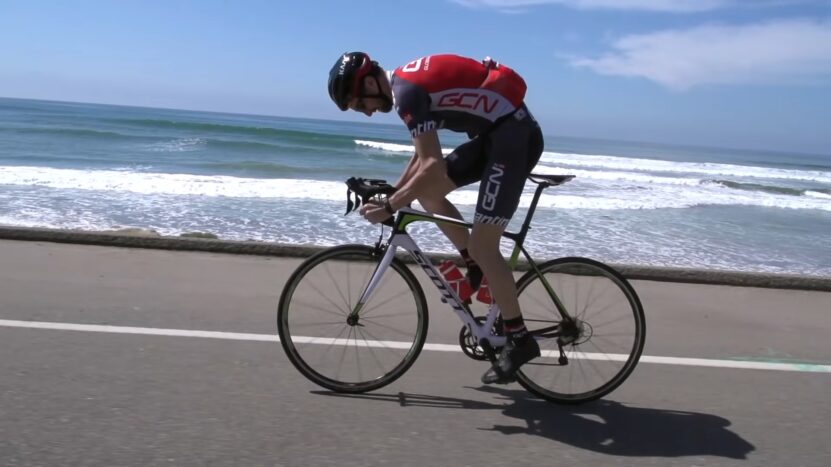
When I’m out on a ride and hear an unexpected noise from my bike, it immediately grabs my attention. It’s essential to identify these sounds early on, as they can indicate areas that need maintenance. Let’s explore some common culprits.
A loose chain is often a primary suspect. If it’s not taut, it can produce a series of rattles as you pedal. Fortunately, this is usually a straightforward fix. A quick adjustment with a bike tool should do the trick.
Worn-out bearings are another common issue. These components ensure our wheels turn smoothly, but over time, they can degrade. If you start hearing a grinding noise, it’s a sign that the bearings might need replacement.
Loose chainrings or pedals can also be sources of noise. If they’re not secured properly, they can come into contact with other parts of the bike, leading to a rattling sound. It’s essential to check and tighten them as needed.
A poorly adjusted headset can cause noises, especially when you’re navigating uneven terrains. If the handlebars rattle against the frame, it’s a clear sign that the headset needs some attention.
Lastly, if you hear a knocking sound, it could be from the bottom bracket. This component connects the crankset to the bike and allows it to rotate. If it’s loose, it can cause noticeable noises, indicating that it might be time for an inspection or adjustment.
Why Does My Bike Clunk When I Pedal Hard?
When I push hard on the pedals and hear a clunking sound, it’s a clear signal that something’s amiss. A few things could be responsible. A loose chain is a common culprit. If it’s slack, it can slap against the frame, creating that distinct noise. A quick adjustment with a wrench should set it right.
Loose pedals can also be the source of that rattling sound. If you suspect this, grab a wrench and ensure the pedals are securely fastened.
How Do I Know If My Bottom Bracket Is Worn Out?
The bottom bracket plays a pivotal role in the bike’s performance, and when it’s worn out, it doesn’t stay silent.
- A creaking noise during pedaling is a telltale sign. This sound indicates that the bearings aren’t rotating as smoothly as they should.
- Additionally, if pedaling feels gritty or if it seems like the bike isn’t transferring power efficiently, it’s worth inspecting the bottom bracket.
How Do I Stop My Cranks From Creaking?
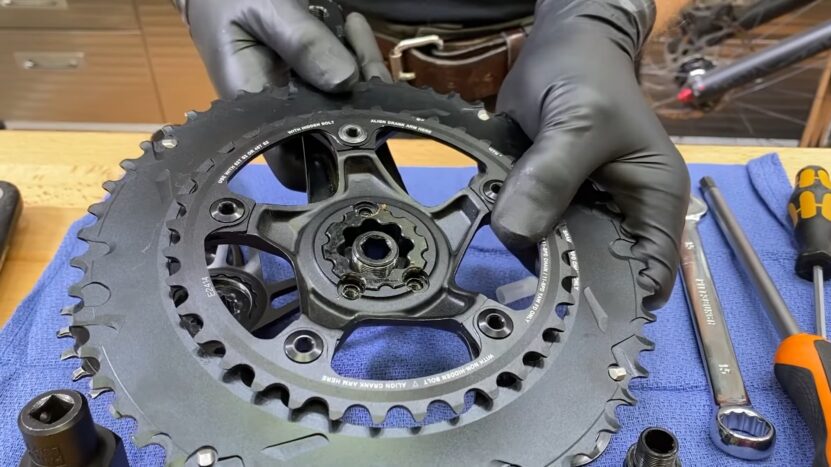
Creaking cranks can be a bit of an annoyance. Often, a loose pedal is the offender. Ensure your pedals are tightened adequately. If the creak persists, applying some grease to the pedal threads before reattaching can help. Loose crank bolts might also be the issue, so give them a check and tighten them if necessary.
If the creaking seems to originate from the bottom bracket, ensure its bolts are secure. Greasing the threads can help, but if the bracket is showing signs of wear, it might be time for a replacement.
Can I Use WD-40 On My Bike?
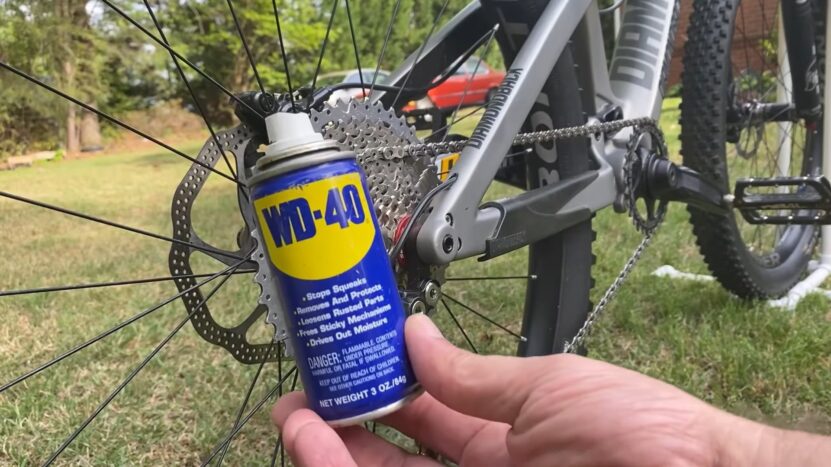
I’ve often been asked about using WD-40 on bikes, and while it might seem like a handy solution, it’s not the best choice. Sure, it can momentarily silence a noisy chain, but it also acts as a magnet for dirt and grime. Over time, this can lead to even louder complaints from your bike.
Moreover, WD-40 wasn’t crafted with bikes in mind. For a quieter ride, it’s better to opt for products tailor-made for bicycles. These are not only more effective but also ensure the longevity of your bike’s components.
Why Do Expensive Bikes Click?
It’s intriguing how some of the pricier bikes tend to click when pedaled. The primary reason? Their carbon fiber frames. Carbon fiber is a marvel, offering both stiffness and lightness. While this rigidity is excellent for transferring power, it can also amplify noises.
When pedaling with gusto, slight flexing in the chain and gears can lead to the chain brushing against the frame, producing that characteristic click. To minimize this:
- Ensure your bike is in tip-top shape. A slack chain can exacerbate the flexing and the resultant noise.
- Consider using a thicker grease on your chain. It can help absorb some of those pesky vibrations, leading to a quieter ride.
- For those with vintage steel-framed bikes, lining the inside of the frame with carbon fiber tape can be a game-changer. It dampens vibrations and reduces noise.
How Do You Fix a Noisy Spin Bike?
Hearing unexpected noises from your spin bike during a workout can be distracting. If your spin bike protests with each pedal stroke, here’s what you can do: Start by checking the lubrication. A dry chain or gears can be quite vocal. Ensure you use a lubricant specifically designed for bicycles.
On a side note, many cyclists are curious about gearless bicycles and often ponder the distinctions between single-speed bikes and fixed gears.
If lubrication doesn’t do the trick, adjusting the chain’s tension might help. If the noise persists, it’s a good idea to consult a professional bicycle mechanic for a thorough check-up.
Why Does My Crank Click When I Pedal?
A clicking sound while pedaling can be quite a mystery, but often, the bottom bracket is the prime suspect. Nestled where the frame’s seat tube meets the down tube, the bottom bracket houses the crank bearings.
A misaligned or damaged bottom bracket can lead to that telltale click. Similarly, issues with the crank bearings, whether they’re loose or damaged, can produce the same sound. Sometimes, the chainrings might be the culprits. Bent or worn-out chainrings can rub against the frame or each other, leading to a clicking noise.
How Often Should the Bottom Bracket Be Replaced?
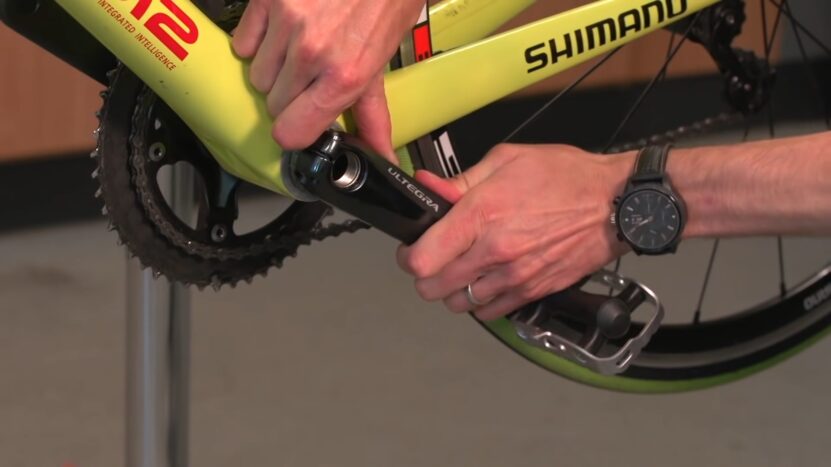
On average, a bottom bracket serves faithfully for about 2,000 miles. But, like all averages, there are exceptions. Factors like the quality of the bracket, your riding style, and the conditions you ride in play a role.
For instance, if you’re a heavier rider, frequently tackle wet or muddy terrains, or are an avid mountain biker, your bottom bracket might call it quits earlier. On the flip side, lighter riders who stick to smooth roads might enjoy a longer lifespan from their brackets.
When your pedaling is accompanied by creaks, grinds, or if the cranks feel wobbly, it’s a sign that your bottom bracket might be nearing its retirement. In such cases, a visit to a seasoned bike mechanic is a wise move.
Servicing the Bottom Bracket: A Step-by-Step Guide
The bottom bracket is where the magic of pedaling happens. Ensuring it’s well-lubricated and functioning smoothly is crucial. Here’s how to service it:
- Gather Your Tools: Depending on your bottom bracket type – be it Shimano, SRAM, or Campagnolo – you’ll need a specific bottom bracket tool. Also, have some fresh grease on hand.
- Remove the Crankset: A crank extractor tool will be your friend here. Once removed, the bottom bracket will be visible.
- Identify Your Bottom Bracket Type: There are cartridge types, which are sealed and can’t be serviced (replacement is the only option), and there’s the cup-and-cone type, which can be serviced.
- Service the Cup-and-Cone: Using the bottom bracket tool, remove the cups. Clean and inspect the bearings. Replace if damaged. When reassembling, apply fresh grease and ensure the cups are tightened securely.
Do I Need To Replace the Bottom Bracket When Replacing the Crankset?
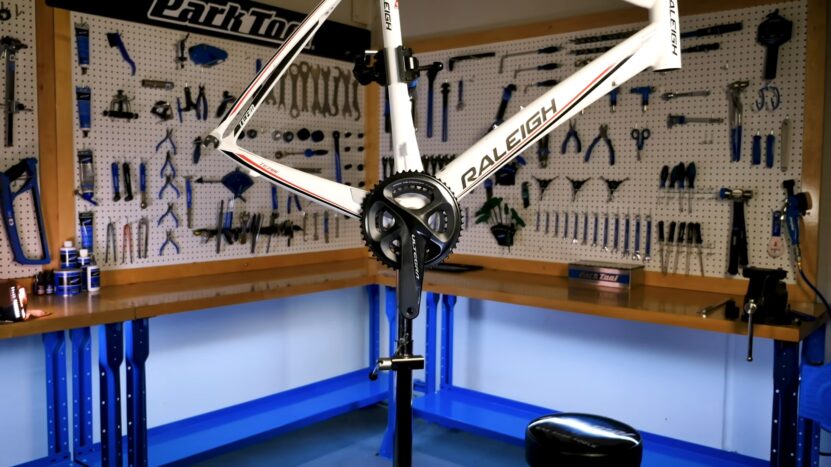
While cranksets and bottom brackets are distinct components, it’s wise to check the condition of your bottom bracket when replacing the crankset. If it’s worn out or damaged, consider replacing it simultaneously. Installing a bottom bracket can be intricate, so if you’re unsure, a trip to the local bike shop might be in order.
How Do I Stop My Bike Clicking?
A clicking bike can be a puzzle. The culprits can range from a simple loose chain to more complex issues like worn-out bearings. Here’s a checklist to troubleshoot:
- Chain Check: Ensure it’s well-lubricated and tensioned correctly.
- Derailleur Alignment: Misalignment can lead to chain skipping and clicking.
- Pedal Inspection: Damaged or worn pedals can be noisy.
- Bearings: Check the wheel and bottom bracket bearings. Replace if worn.
- Bolt Tightness: Ensure all bolts are secure. Loose ones can be noisy.
How Often Should I Lube My Bike Chain?
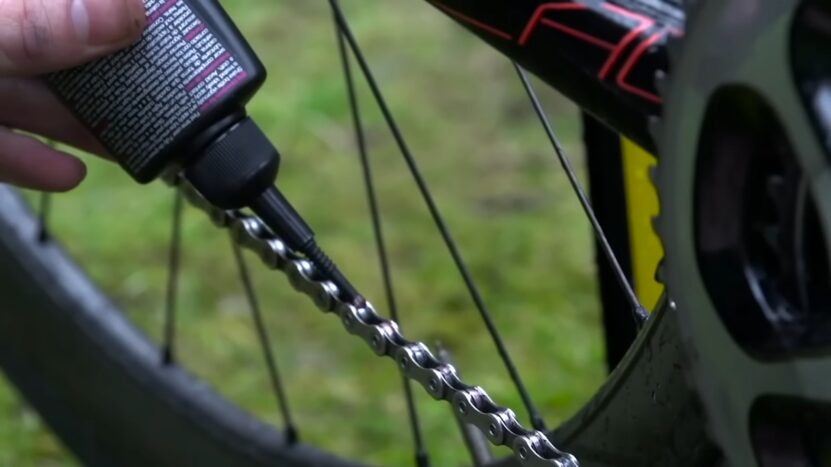
The frequency of chain lubrication varies based on your riding habits, terrain, and bike type. A good rule is once a week, but listen to your chain; if it’s noisy or feels dry, it might need some TLC sooner.
There are different lubes for different conditions: wet lube for damp environments, dry lube for arid ones, and versatile wax-based lubes. To lube:
- Clean the chain with a rag.
- Apply lube to the chain’s inside and outer links.
- Rotate the pedals to distribute the lube.
- Wipe off excess.
Remember, the type of lube and its frequency can make a significant difference in your bike’s performance.
FAQ
How long does a bottom bracket typically last?
The average lifespan of a bottom bracket is around 10,000 miles. However, this can vary based on several factors. Rider weight, the type of terrain frequently ridden, and the level of maintenance the bike receives can all influence the longevity of the bottom bracket. Regular check-ups and timely replacements can ensure optimal performance and extend the life of this component.
Is it necessary to grease the bottom bracket?
Yes, greasing the bottom bracket is crucial. Proper lubrication reduces friction, ensuring smoother pedaling and preventing premature wear and tear. While there are various lubrication methods available, using a dry graphite lube is highly recommended for its durability and effectiveness in reducing moisture-related issues.
How can I tighten my bottom bracket?
The bottom bracket, located at the base of the frame beneath the pedals, ensures the secure rotation of the crank arms. If you notice unusual noises while pedaling, it might be due to a loose bottom bracket. To tighten it, you’ll need a specific bottom bracket tool that fits your bike’s design. This tool attaches to the crank arm, allowing you to adjust the bottom bracket’s tightness. If you’re unfamiliar with the process, it’s always a good idea to consult a professional or refer to your bike’s manual.
What are the different types of bottom bracket standards?
There are several bottom bracket standards, each designed to fit specific bike frames and cranksets. Some common standards include BSA, BB90, BB30, and PF30, among others. Each standard has its advantages, disadvantages, and compatibility requirements. When choosing a bottom bracket, it’s essential to select one that matches your bike’s specifications to ensure optimal performance and fit.
Conclusion
As we wrap up our journey through the world of bike noises and their remedies, I hope you’ve found some valuable insights to keep your ride smooth and silent. Remember, your bike is more than just a machine; it’s an extension of you.
By understanding its quirks and addressing them promptly, you not only ensure a safer ride but also strengthen the bond between rider and machine. Whether it’s the occasional creak or a persistent click, armed with the knowledge from this guide, you’re well-equipped to tackle any noise challenge that comes your way.
So, the next time you’re out on the open road or trail, may your ride be filled with the sounds of nature and the rhythm of your heartbeat, rather than any unwanted mechanical symphonies. Safe riding!
